Font Size
Transpose
B
Om A⁀eem↑ Saraswa
F#
ti
Namaha
E
Om
C#m
Om
A⁀ee
F#
m
Saraswa
B
ti
Saraswa
E
ti
Saraswa
C#m
ti
Nama
F#
ha⁀a⁀a
B
Om
x4
———————
B
Saraswati
Ma
F#
ha
G#m
Laxmi Durga devi nam
E
ah
B
Durga Devi Durga Devi
Durga Devi nam
E
ah
———————
B
Wishin’
F#
you,
G#m
all the love in the
E
world
———————
B
All the love, all the love
All the love in the
E
world
B
All the love, all the love
All the love in the
E
world
B
All the love, all the love
All the love in the
E
^^wo⁀⁀
B
rld
Aim is the bija mantra associated with Saraswati
Namaha, to bend, give respect to
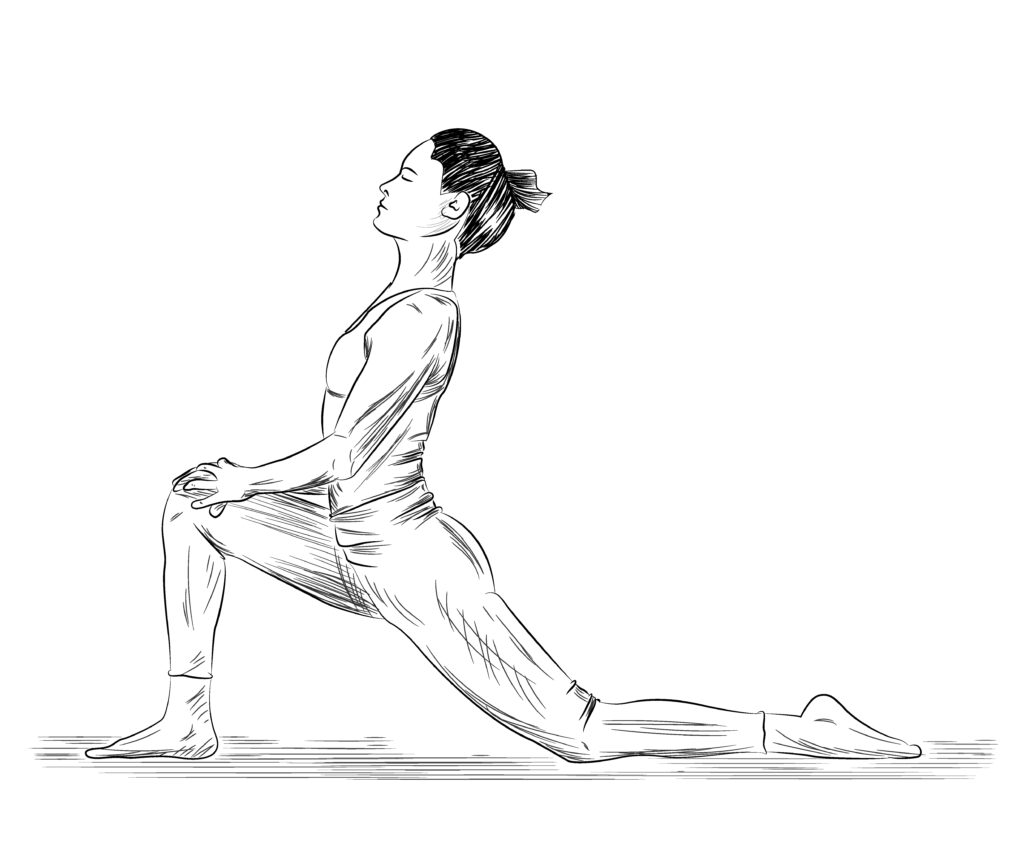
Saraswati is the goddess of knowledge, music, art, speech, wisdom, and learning